Hello all, I hope you all have a great weekend! For us, we have a wonderful weekend in Canmore and we did a two hours hike in the beautiful mountains in Canmore! We are looking forward to have more weekend like this!
I am still in the mood of making bookmark cards and trying different layouts. This week I came up with this beautiful and versatile design. I think I will use this same design to make more bookmark cards to put into the goodie bags for my Daughter's birthday party, for example, switching MISS YOU to THANK YOU, stars to hearts, and use different colours for the background and the negative space, etc!
The cute image on the bookmark was coloured with Copics on a piece of Neenah white card stock. The yellowish orange background was done using Memento inks and mini blending tools. The stars on the bookmark are the negative of the star dies from Ellen Hutson Home & Hearth. I covered the back of the bookmark with a teal colour card stock to cover the mess on the back of the image and to also give some interest to the stars. I used the star die cut pieces to decorate the card base.
The sentiment is from Paper Smooches and it was stamped using VersaFine ink.
All the other products I used are listed below. Thank you for stopping by and I hope you have a super creative day :)
Affiliate links used below.
Hello all, I hope you have a great Father's Day weekend! Today I am sharing a card I made for a boy turning 6, yah!
I wanted the card to be more useful for him so I decided to make the main panel detachable and can be used as a bookmark!
Since the image would be coloured using Copic Markers, I first die cut the main panel with Simon Says Stamp's stitched rectangle die (the 3rd counting from the outside) on a piece of Copic friendly card stock. Also, to cover the mess on the back of the copic friendly card stock after colouring, I die cut another piece of white card stock using the same die.
I then masked out the circle area of the main panel with a circle die from SSS. Applied Memento inks (listed below) on the masked panel using sponge dauber. Then removed the mask and stamped the image on the white space. I then decided to mask out the image and stamped the white space with a circle stamp from the same set that has stripes on it to make the space behind the main image a little more interesting.
The image was then coloured with Copics and adhered to the other die cut card stock to cover the back. The party hat is from Mama Elephant's Lunar Animals stamp set. I stamped the party hat on a piece of scrap paper first, then coloured it with Copics, then cut it out and adhere it on the image! I also used glossy accent on the image.
The sentiments are from two stamp sets and they are listed below as well. The "you're pawsome" sentiment was stamped using versafine onyx black, while "happy birthday" was stamped using Stazon orange.
I also decorated the card base a bit using SSS's circle stamp set. The detachable panel was then adhered to the card base using a removable/reposition-able adhesive!
All the products I used are listed below. Thank you for stopping by and have a creative day :)
Affiliate links used below.
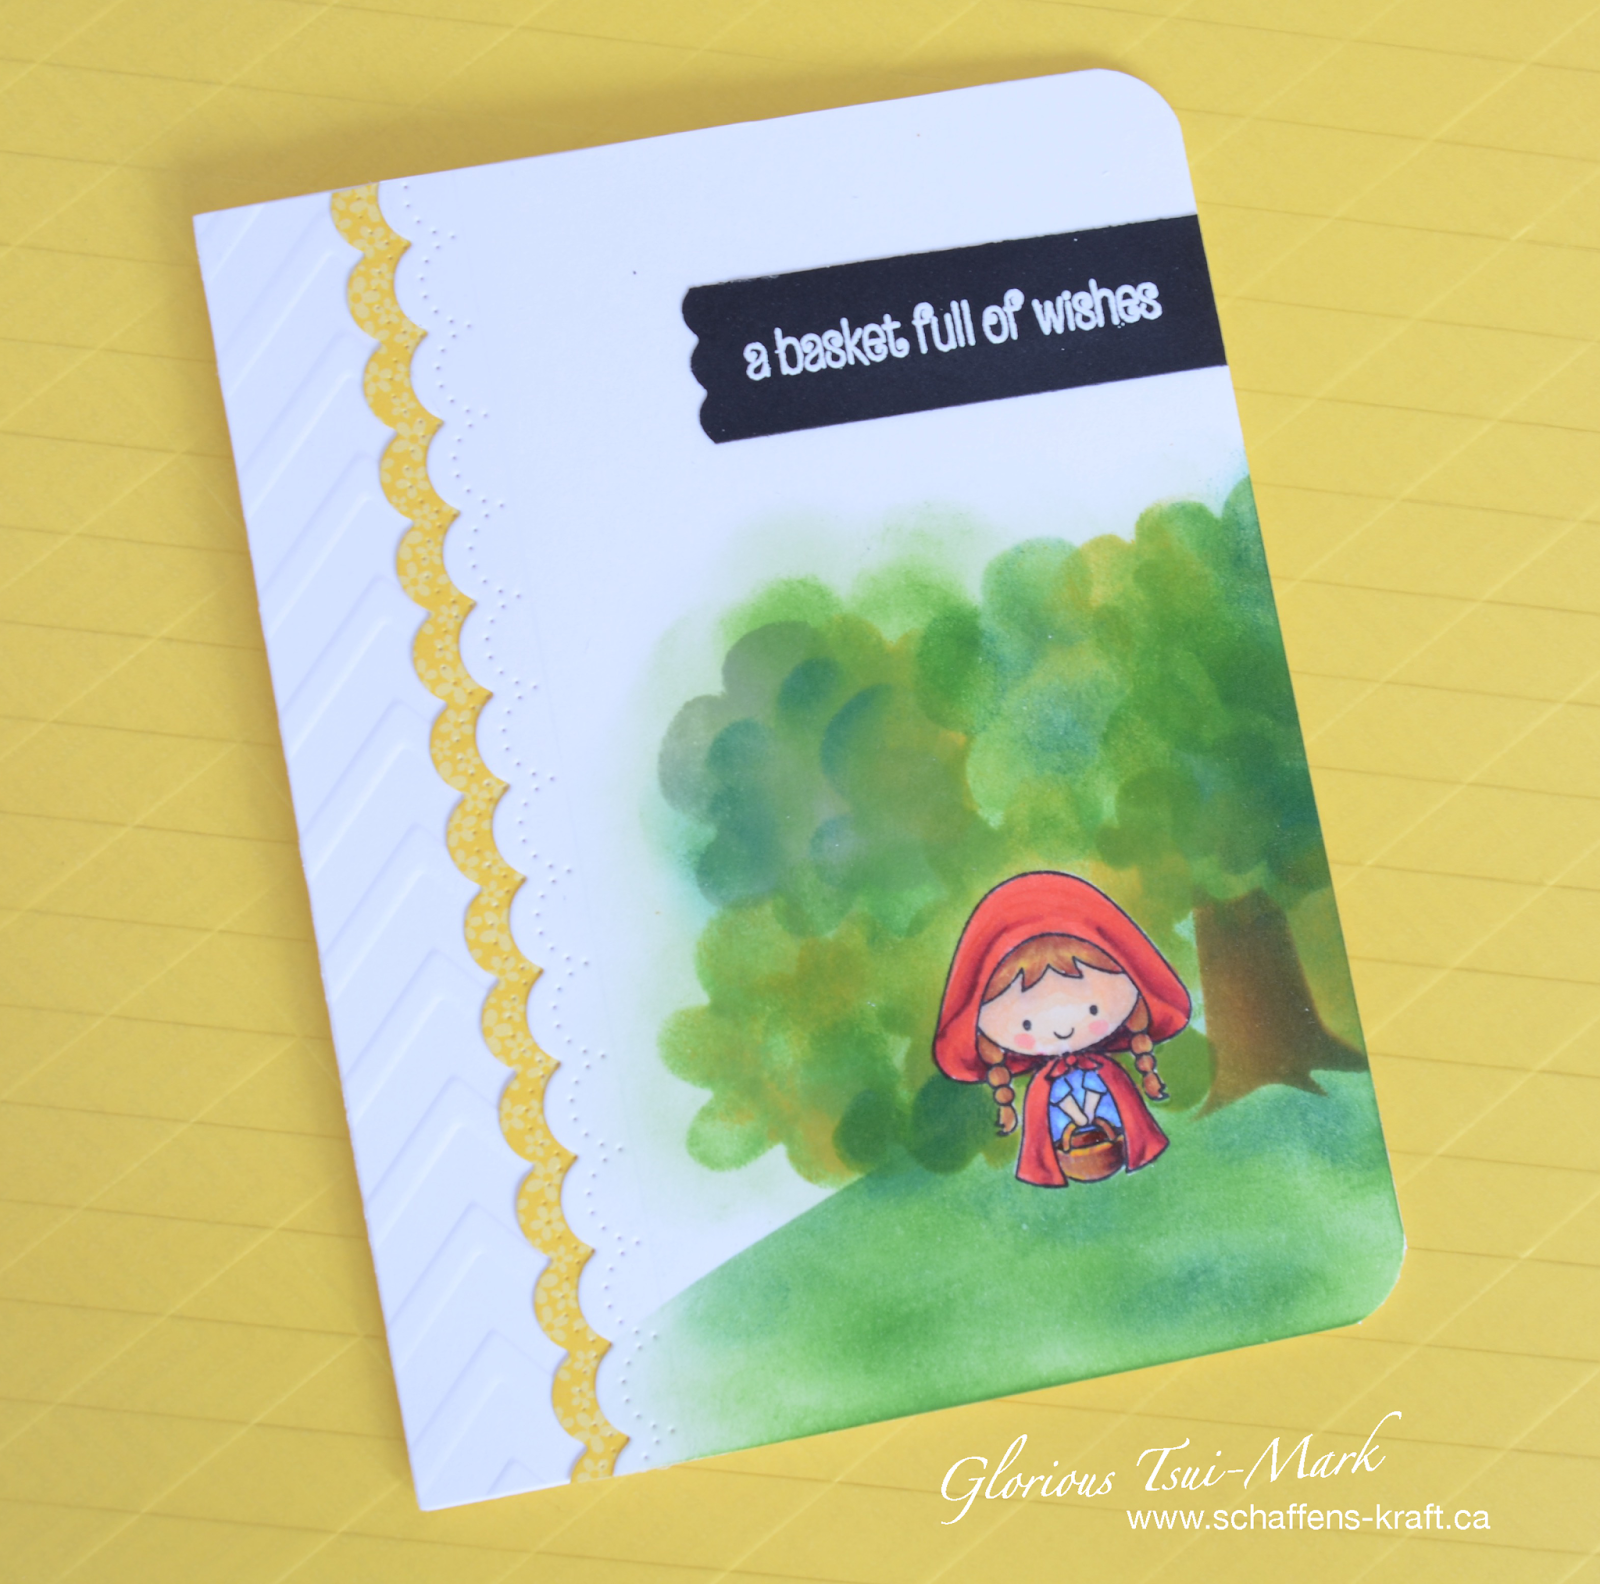
Hello, the Copic Jumpstart Online Class from Sandy Allnock is still going on and I have learned so much from it. Look at the cute Red Riding Hood I coloured with Copics!
Anyways, I am back with another card this week for Simon Says Stamps' Mask it Wednesday Challenge! This time I used Clear Besotted - Once Upon A Time stamp set.
Since I decided to use Copics to colour the stamp image, the image was stamped on a neenah solar white 110 lb cardstock. I then made a mask for the stamped image using post-it full adhesive notes.
For the background, with the mask in place, I used a tree stencil from my daughter's stash, distress inks and sponge dauber to create the background. I also used the post-it to create a slopped hill shape as a mask for the hill where the very cute Little Riding Hood stands.
The image is coloured using Copic markers. The sentiment, from the same stamp set, was embossed with white embossing powder on a black card stock.
I also used a dotted scallop border die to die cut the left side of the card and the yellow patterned paper. I then decided to give some interest to the white space on the left side of the yellow scalloped border by embossing it with an embossing folder.
The Copic Markers are on sale at Ellen Hutson!
That is it, very simple and I hope you enjoyed it. I will be back on Sunday for another card that is for the Rainbow Card Challenge!
Thank you for stopping by :)
Affiliate links used below!
SaveSave